Thursday, 29 April 2010

How to make a display for rings


Being a big fan of rings, usually big rings too, it had to happen; I found nice adjustable rings blacks and started making rings in porcelain and clay. Now I had to find a good way to display these on a fair. I know you can buy displays or just stick them in a piece of foam rubber, but that's not so nice. This idea struck me when I was just back from the DIY store, so had to go back again......cause I wanted to use the tubes that are meant for the insulation of water pipes. 


So get some of those tubes, I got the smallest size, get some fabric and a frame, IKEA is great for this. Get enough tubes to fill the frame.
Take the frame apart, you only need the actual frame.
Cut the pipes to length, just a few millimeters longer than the opening of the back of the frame. And open each of them. Cut the fabric, so there is enough to go around the tube and than add about 3-4 cm (1,5 inches) to that. 
This way you have enough fabric to go back into the tube.
Do this for all tubes and fill the frame. 
Turn it around and fill with rings and your display is ready.

Tuesday, 27 April 2010

Going back to my roots: 't Paeremes


As you know I've been working on a series of jewelry inspired by traditional jewelry from Zeeland. It is not only the jewelry were I found inspiration. When I was a kid I've had pocket knives, very simple ones, but handy for carving sticks and so on I found in the orchard. At some stage I even followed a wood carving course, my fellow students were all pensioned men :-)


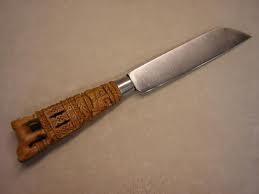
These two interest come together in the 'Paeremes'.In the olden days farmers from Zeeland had a really nice knife as part of their costume. They carved the hilt with scenes from their lives. I learned all about the knifes from the book 't Paeremes' by Pieter Brouwers
There are 3 elements to each knife: 
1. The crown, which almost always has 2 big farmers horses eating from a food-trough. 
2. The cage, which holds the soul of the knife. This is an open section, cage, like, with 1 little ball in wood inside. If you could carve this well, it showed your craftsmanship and if the sound was good, it proved the wood used was quality too.
3. The decoration on the sides, here you find a variety of carvings; the owners initials, a year, pictures of animals or tools, scenes from daily life or the bible, a coat of arms. 

I found very few good pictures, but here is one and you can see some more here (site in Ducth).


So far so good, when did this inspire me to do something with this info and my love for ceramics? Well, that happened whenI found ceramic knife blades on the internet and just had to buy them. I had them for a while; I did not simple want to copy one of the knives in porcelain or clay. Carving is meant for wood. But I liked the elements, the little soul, which makes the knife come too life,  especially and the crown too. After pondering for a while I started working. First I made a plain hilt in porcelain, than I started trying what patterns could work and I let the material 'speak' to me. In the back of my mind was this quote from an old Dutch/Flemish legend 'Tijl Uilenspiegel', which was mentioned in the book. One of Tijl's skills was carving too, apparently he had carved a knife-hilt with a skull in the cage and a dog laying on top of the cage, symbolizing 'faithful until death'. I found this such a lovely idea and it stuck with me, but found it a bit dark and gloomy at the same time. Kept pondering about life, death, faith, dog, animals while working on it. I found that a phoenix was growing from the wavy pattern I had applied to the hilt, an egg (a new life, a new soul) is caught in the cage. The phoenix who rises from death is much more optimistic ;-)


In contrast to the white of the blade and the hilt I made a piece of ebony wood to size to 'connect' the 2. I still have to varnish the wood and I'm thinking of having a leather holder made for it. Otherwise it is finished.

Sunday, 25 April 2010

Elf Fantasy Fair

Yesterday I went to the Elf Fantasy Fair for the first time and was amazed by all the costumes. It is unbelievable how much work and effort some of the people had gone through. And most people there were dressed up, absolutely amazing and touching too. The setting was wonderful, a beautiful castle and it's grounds in the Netherlands, the sun was out to add to the fun and some sunburn :-)


Already been breaking my head over ideas for costumes for myself for next year. I've been searching etsy for inspiring props:


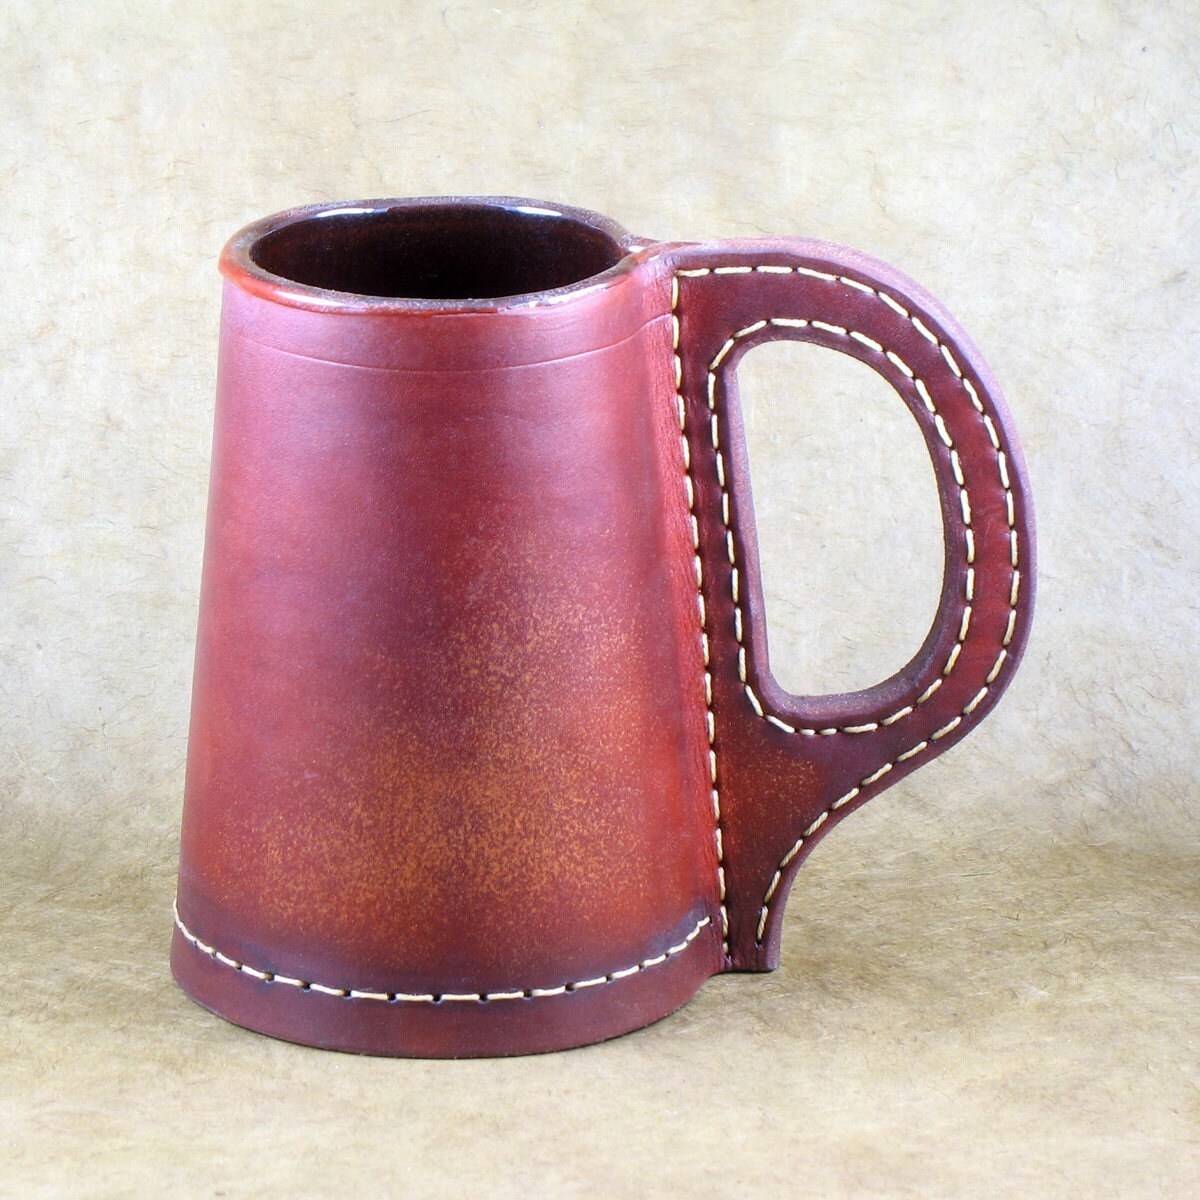
If I want to be a Viking:

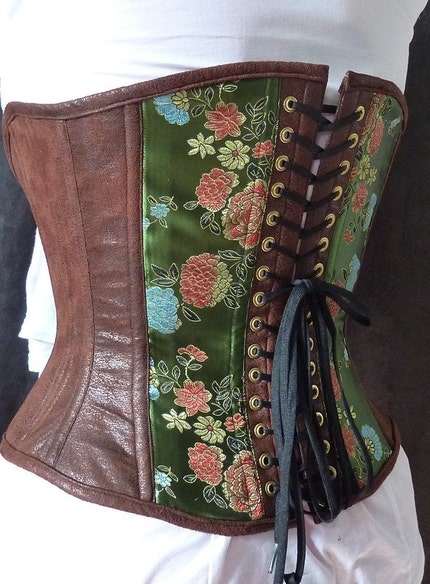
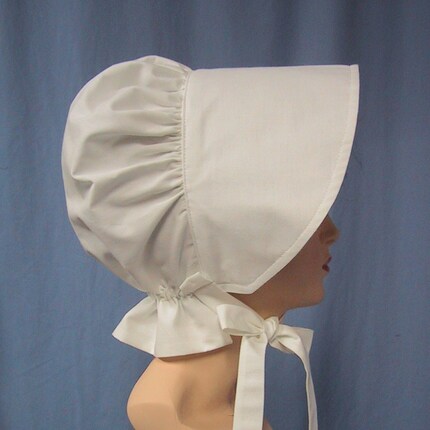
If I want a Victorian look:

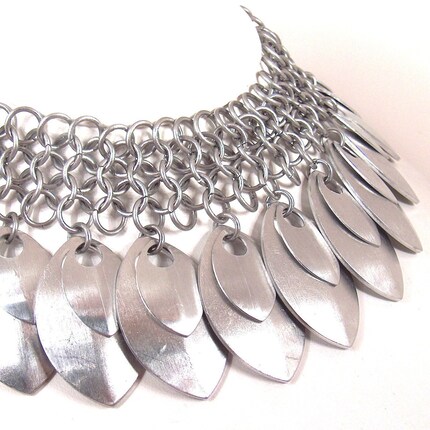
If I want to be a female knight:


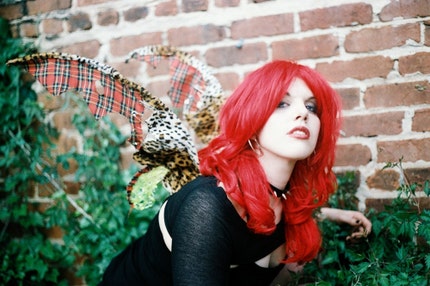
If I want to go as a mad fairy:


If I want to as as Mary with her little lamb:

Plenty of choices, luckily I got a hole year to make up my mind.

Friday, 23 April 2010

Going back to my roots

I was born in the Netherlands and I'm proud to be Dutch, even more so being a 'Zeeuws meisje'.
But I do love living in Belgium with my Belgian boyfriend for life :-)

Both my grandma's still wore the traditional costume and my dad still has a custome which he wears for special occasions. (Hhmmm must suggets to him to wear it 30th of April when the Ducth queen Beatrix is coming to their hometown to celebrate queensday.) Unfortunatly I never knew one grandma and my other grandma passed away a few days before my tenth birthday, but here 's a picture with her, my brother, my little sis and me. 
I'm the one holding the apple, must have been one special apple, as it HAD to go with us in the picture. (Remember how pictures were still rather special in those days.) And yes, I know, I look like a little boy :-) 


There are many variations in the costumes depending on the region within Zeeland and the religion, Catholic, Protestant, my grandma's wore the Protestant costume from Zuid-Beveland. Because this was the costume used for the commercial of the butter brand 'Zeeuws meisje' this is best know Zeeuws costume. There are many different costumes in Zeeland because the habitants of the different islands which make up Zeeland, were much to themselves in the olden days, due to lack of bridges and such. On this site (in Ducth) you can find the different costumes, click on the names in the bottom left hand menu. One element which has been used in modern jewelry already is the 'Zeeuwse knop'. If you watched the commercial, it is what the men wear on their collar. But since it has been used in rings, cufflinks, pendants, brooches, bracelets and so on, either new or repurposed. There is even a plant is which is called 'Zeeuws knopje. 


Anyway I got one of the rings since I was I kid and now I used it to make a mold in silicon. The mold I used to make replicas in porcelain and clay. With these replices I than made ceramic and porcelain jewelry.
  I am working on others creations inspired by elements from the Zeeuwse folklore, but more about that later. It's not jewelry, it got a soul and it is sharp.......

Wednesday, 21 April 2010

Cuttle Fish casting

I did some cuttle fish casting earlier and I'd like to share the process with you. I really like the natural pattern and the material. AND > It is a great way to use up your scrap silver.

How do you make a silver cuttle fish casting? You start by going to a pet shop and buy at least 2 cuttle fish bones. You need some sandpaper a flat surface, files, masking tape and lots of heat.

Sand the cuttle fish bones until they are flat and fit together perfect. Than with a file make the shape in one of the bones you want to cast, here just a plain rectangle. With a cutter make a gutter around the chosen shape. This is to let the air out when the silver goes in. Also make a V-shape in BOTH bones to poor the silver in later, about 4 cm or 1,25 inches in size. 


Brush the bones to get more detail in the wavy pattern. 


Make extra tiny vents from the chosen shape to the gutter/air vent.


Sprinkle both sides with a pinch of BORAX powder. 


Tape (masking tape works fine) the 2 sides together, make sure there are no other holes than the V-shape. (Hold it against the light to check) Than set it up, ready for casting. 


Melt enough silver for the cast, better too much than too little :-) Here a small kiln is used and a torch to speed up the melting, but you can use just a torch by itself as well. 


Keep heating the now liquid silver while you bring it to the mold. 


Poor the silver in the cuttle fish cast. Once all silver is in, put the cast in a bowl (make sure it is heat resistant) of water and best take outside, cause the smell of burning cuttle fish is not the nicest. Once cooled take cast from cuttle fish.


This is the cast, cut in half and the left side has been rolled. This is an option if you want to make your cast a bit bigger by rolling it, it will flatten the pattern a bit, as you can see. If you flatten it altogether, you will have a fresh sheet of silver. 

These are the results of an earlier casting which I did.

Welcome

Finally I did decide to create a blog, still not sure about it, as I'm not much of a writer. But sometimes I do have things to say to the world and facebook notes is just too simple. So yes you find me on facebook too. And linkedin and twitter and lets not forget my presence on Etsy :-)
Can one have to much virtual presence? Well, here we go .............